How to Clean a Mouth Splint: A Comprehensive Guide
Knowing how to clean a mouth splint involves understanding the daily care steps and the importance of regular deep cleanings. Keeping a mouth splint clean will help it last for as long as possible and support good oral health.
In this guide, I’ll explain what is a dental splint and how to clean a mouth splint to maximise your its lifespan and keep your smile healthy.
What Is a Dental Splint?
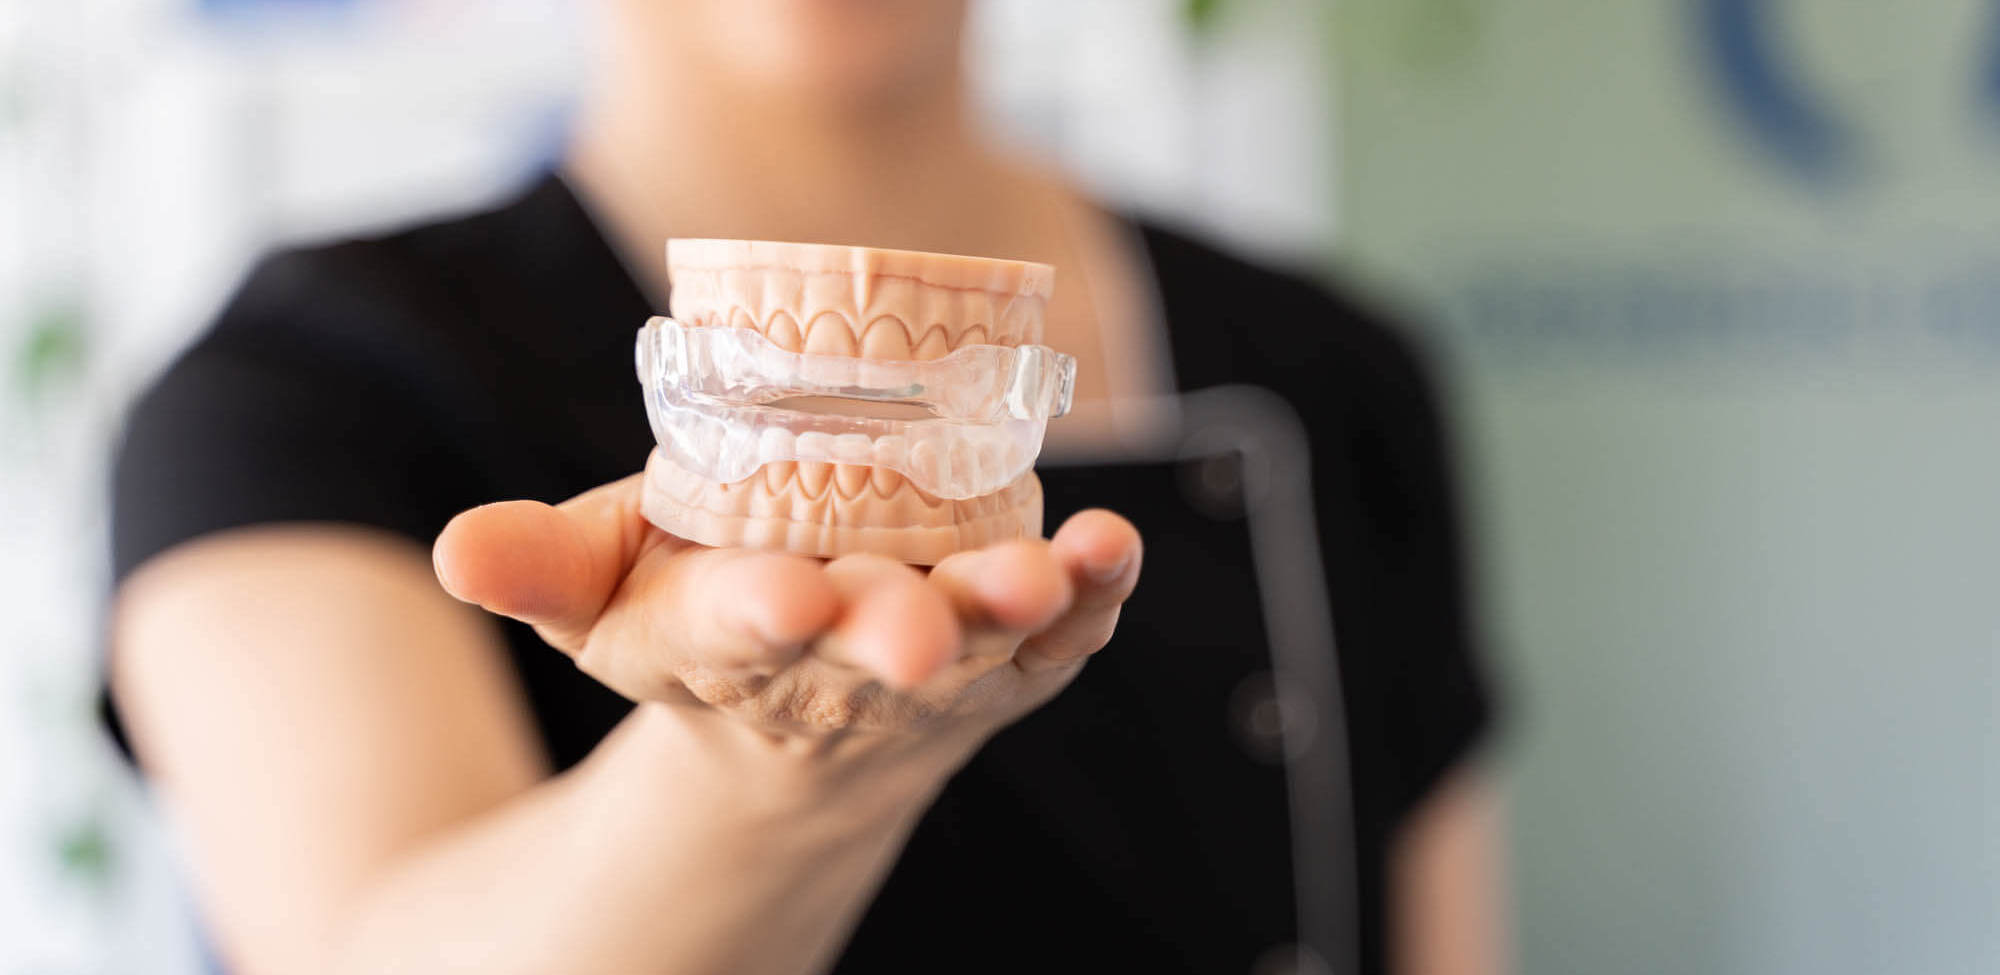
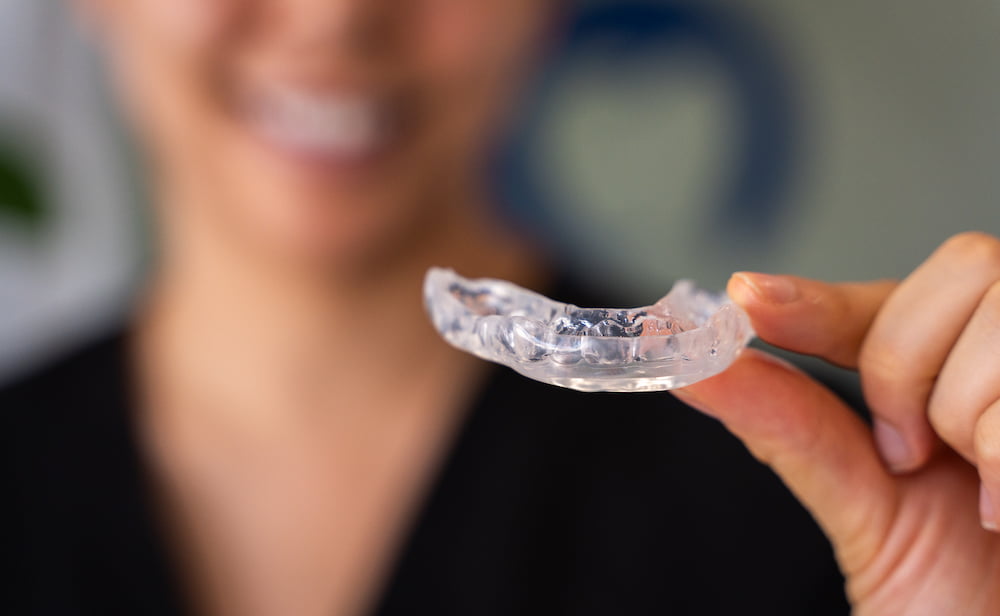
“What is a dental splint?” is a question that I often get from my patients. There are many types of splints such as occlusal splints, mandibular advancement splints. Occlusal splints are the most common type and are colloquially known as night guards or bite guards. I can see where the confusion stems from.
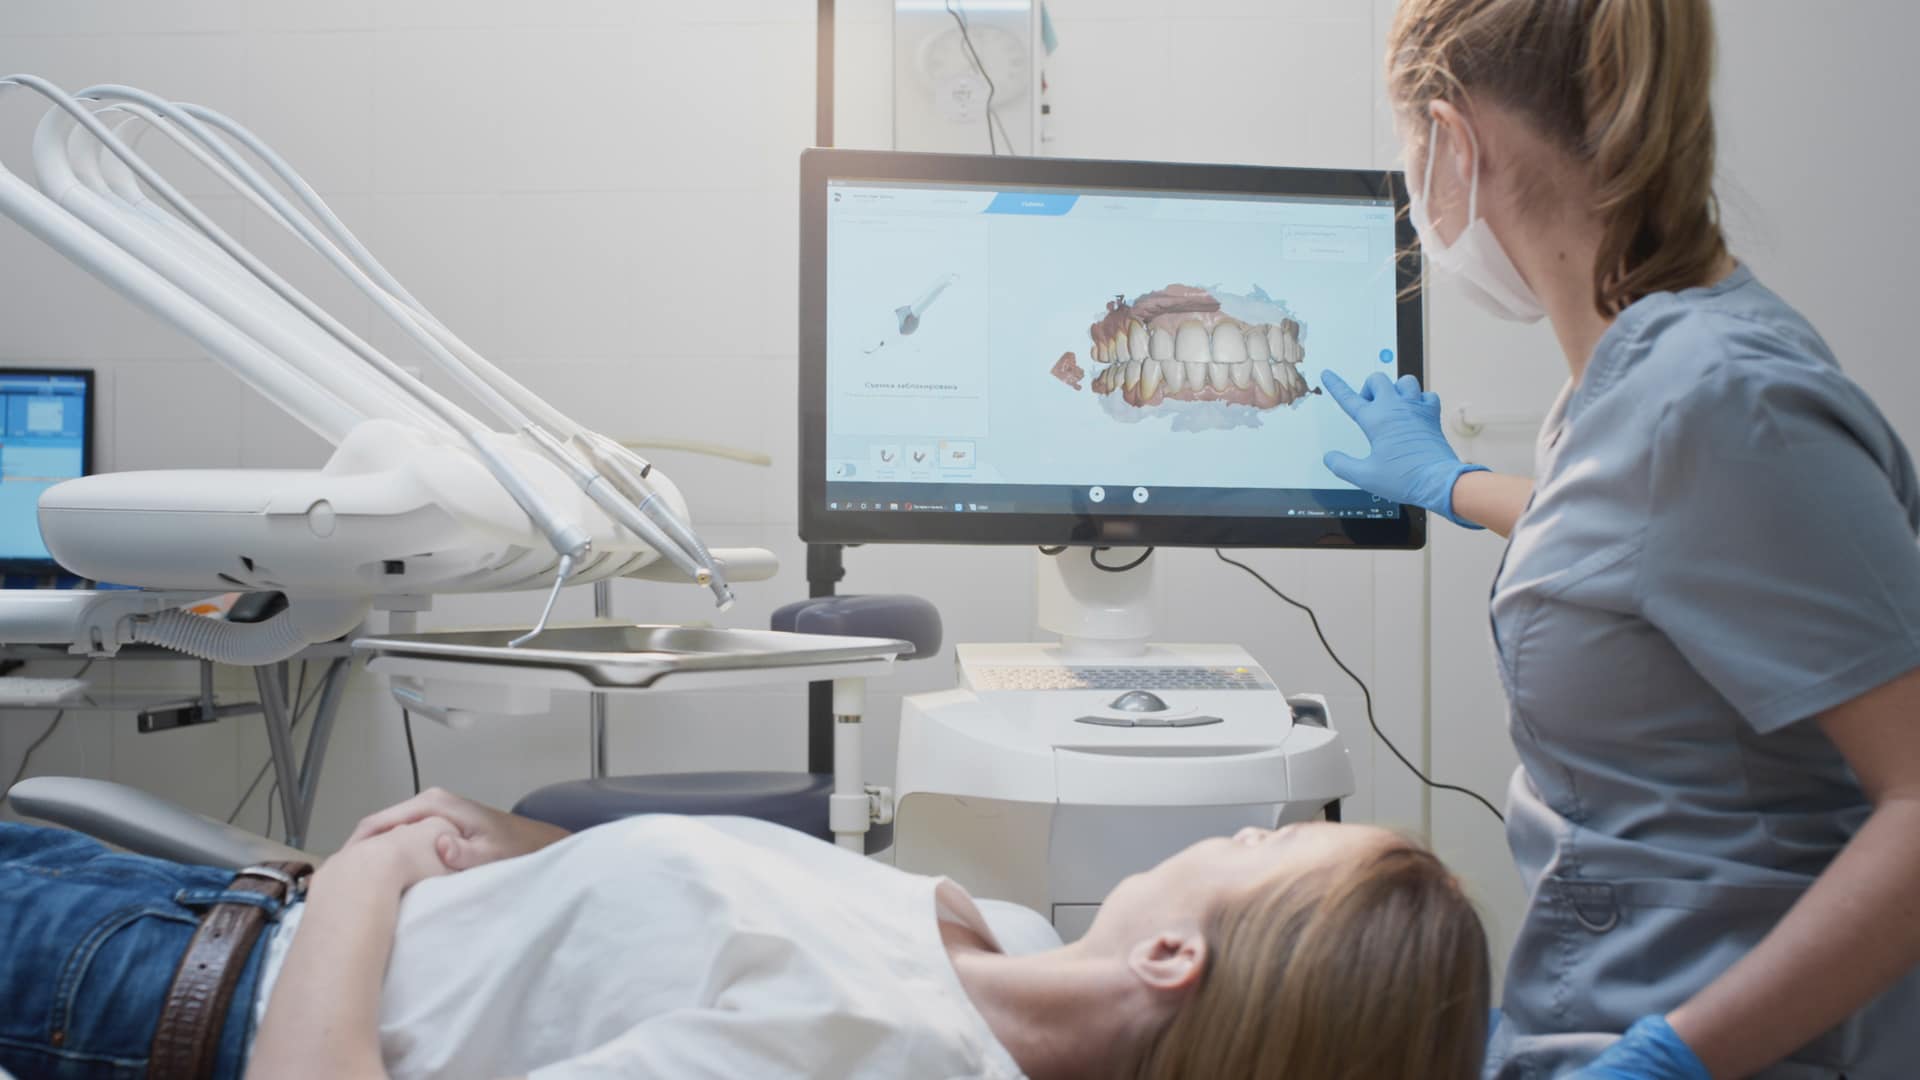
A splint is a removable device that is custom-fit to match the exact contours of your teeth and mouth. Splints are created using an impression of your teeth to ensure a comfortable fit.
Depending on the condition it is used for, your dentist will advise you on how long and when to wear your splint for.
Dental splints can be used for:
- Managing TMD
- Helping to manage mild to moderate obstructive sleep apnoea (mandibular advancement splints)
- Reducing snoring
- Protecting weakened teeth, implants, or crowns
- Preventing tooth damage from grinding
Why Proper Cleaning of Your Splint Is Essential
Splints are porous, making them prone to getting a build-up of food debris and bacteria. Properly cleaning your dental splint will prevent the build-up of bacteria that can harm your oral health.
Knowing how to clean a splint and care for it also ensures your device lasts as long as possible. A good maintenance routine involves a mix of daily cleaning and occasional deep soaking.
Failing to clean your splint can lead to:
- Bacteria build-up
- Increased risk of infection
- Damage to the splint
- Oral lesions
- Reduced lifespan of the splint
- Increased plaque and tartar buildup
- Increased risk of gum disease
- Higher risk of tooth decay
- Bad breath
How to Clean a Mouth Splint
Daily Cleaning Routine
Knowing how to clean a splint daily is straightforward and easy to make a habit of.
Here are some of the main points from our splint care guide on how to clean a splint:
- Before Use — Always brush and floss your teeth before putting in your splint. This prevents bacteria and plaque from getting trapped beneath the appliance.
- After Use — Rinse the splint thoroughly with warm water after use. Gently brush and clean the splint with a soft-bristled toothbrush and a mix of warm water and mild dish soap. Do not use hot water as it can warp the appliance. If your electric toothbrush has soft bristles, you may use that in place of a manual toothbrush.
I do not recommend using toothpaste to clean your splint as it has abrasive properties that can cause damage. After cleaning, rinse the splint well to remove any residue and allow it to fully dry. It may also be stored in water but I prefer a protective case.
Deep Cleaning Methods
As part of how to clean a splint, I recommend a deep clean every two to four weeks. This helps dissolve build-up and prevent odours.
To deep clean a splint, soak it in a partial denture cleaner. I usually recommend “Polident Retainer and Mouthguard” cleaner to my patients. Follow the soaking instructions on the package and rinse your splint thoroughly with cold water after.
Do’s and Don’ts of Mouth Splint Care
Here are some of the “DO’s” and “DON’TS” of mouth splint care that I always like to remind my patients of:
| DO’S | DON’TS |
| DO remember to bring your splint to general checkups so your dentist can assess your splint and make sure it is in good condition. Checkups are an ideal time to review your maintenance routine and determine if any adjustments are required. | DON’T share your splint with anyone. Yes, believe it or not, I’ve had a handful of patients do this over the years. |
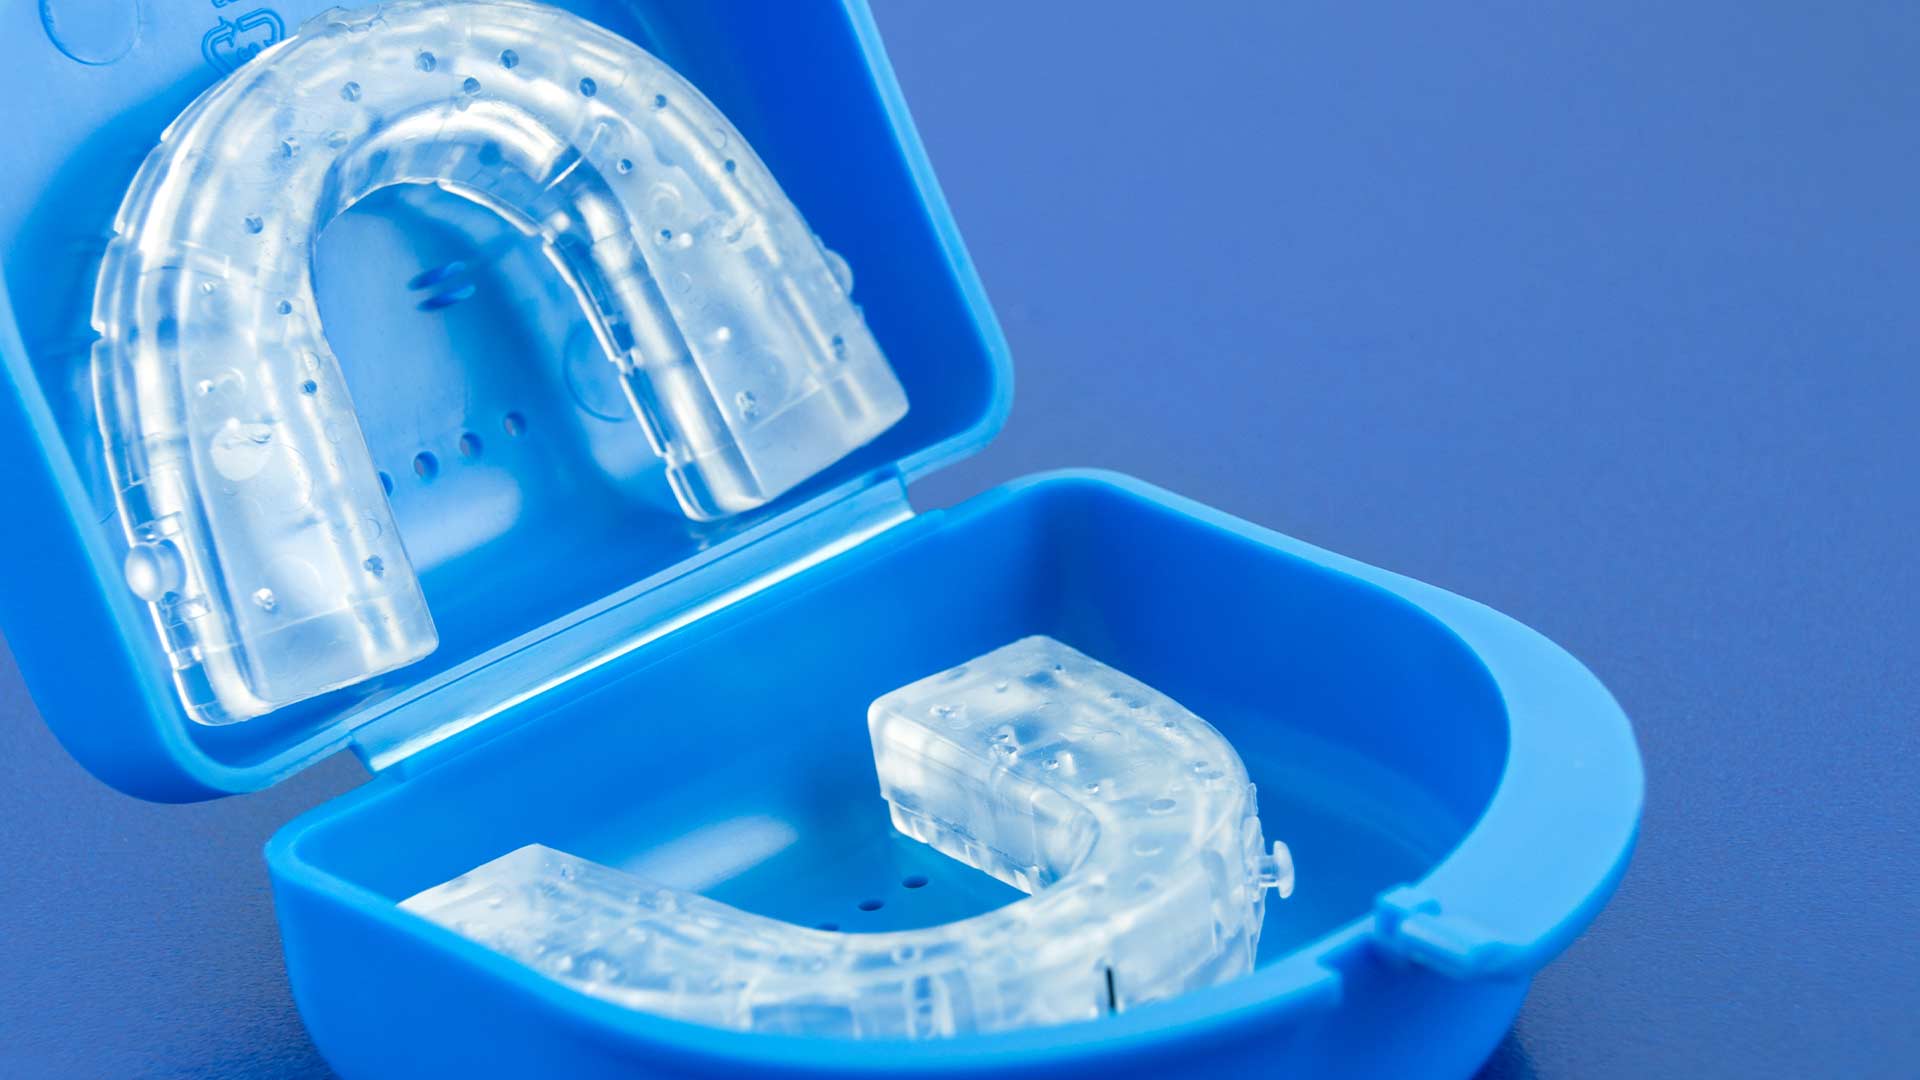
| DO always store your splint in a protective case when it is not in your mouth. | DON’T let pets near your splint. Over the years, I’ve had several patients deal with the unfortunate experience of having their splint used as a chew toy by their dog! |
| DO use soap and water to clean the case you store your splint in (always make sure the case is fully dry before storing your splint). | DON’T soak your splint in alcohol. Soaking your splint in alcohol can degrade the splint’s material. |
| DO use a well-ventilated container for storing your splint. | DON’T store your splint in high-humidity areas, such as the bathroom, where steam or high moisture levels can cause warping |
| DO examine your splint often to check for wear and tear, cracks, chips, or damage. | DON’T ignore damage or cracks – notify your dentist immediately if your splint is showing signs of wear. |
| DO store your splint in a dry, cool place such as your nightstand. | DON’T store your splint in direct sunlight or near heat sources, such as radiators. |
| DO use cool or lukewarm water for rinsing. | DON’T use scalding hot water to clean your splint as it could damage it. |
| DO take your splint out to eat or drink. | DON’T wear your splint during sports — it is not a mouthguard. |
Storing Your Dental Splint Correctly
Proper Storage Techniques
How you store your dental splint is one of the most important parts of protecting it. I’ve seen too many patients toss their splint on the counter and end up at my office because it got dropped and cracked, lost, or accidentally thrown away.
Whenever your splint is not in your mouth, make sure it is clean and dry and stored safely in its protective case. I suggest a ventilated case to make sure any remaining moisture can dissipate. Good circulation can cause moisture build-up that can create a breeding ground for bacteria.
Travel Tips
Along with mischievous pets destroying dental splits, travelling is another area where I see patients coming back with damaged or missing splints.
The biggest recommendation I have for travelling with a splint is taking extra care when storing it. I had a patient go away on a trip and she forgot her protective case. She decided to store it in a plastic cup filled with water next to the sink. At some point, someone accidentally must have thrown it away. She ended up losing the splint and we had to make a new one for her when she got back.
Always bring along your splint’s protective case when travelling and be especially careful when storing it. Avoid setting the case near the edge of countertops where someone could knock it onto the floor, into a sink, or into a trash can. Have a special place to store the case in your bag so it doesn’t get lost in your luggage.
When to Replace Your Dental Splint
Even with the best care, all splints eventually need to be replaced. A well-cared for splint will generally last three to five years.
Here are signs your splint needs to be replaced:
- Your splint is over three years old
- Your splint has holes, tears, cracks, or other signs of damage
- Your splint is discoloured
- Your splint is warped or deformed
- Your splint fits loosely or is uncomfortable
If you are wondering if it might be time to replace your dental splint, I’d be happy to take a look at it. I always recommend that patients bring their splint along to all of their dental appointments. General dental check-ups are a great time to evaluate the splint’s condition and fit.
I recently had a patient bring his splint to an appointment. He said everything was going perfectly with it. I assessed the splint and was able to confirm it was in great condition with no discolouration but I noticed it fit slightly loose in the back left corner of his mouth. By noticing this early, I was able to make a minor adjustment to the splint and regain the ideal fit.
Have Questions on How to Clean a Mouth Splint or Wondering If Your Dental Splint Needs To Be Replaced? Our Team Can Help
Once you know how to clean a splint, it is simple to keep your splint in great condition. By regularly rinsing it, maintaining good oral hygiene, and always storing it in its protective case, you can maximise your splint’s lifespan and keep your teeth and mouth healthy.
If you are looking to get a dental splint or need one replaced, contact our team at Genesis Dental to book an appointment.
